How to create an event type in Calendon
With Calendon, you can create an event type and have a booking link ready to share with clients in minutes. This guide walks you through the whole process, from choosing a location to sharing your link.
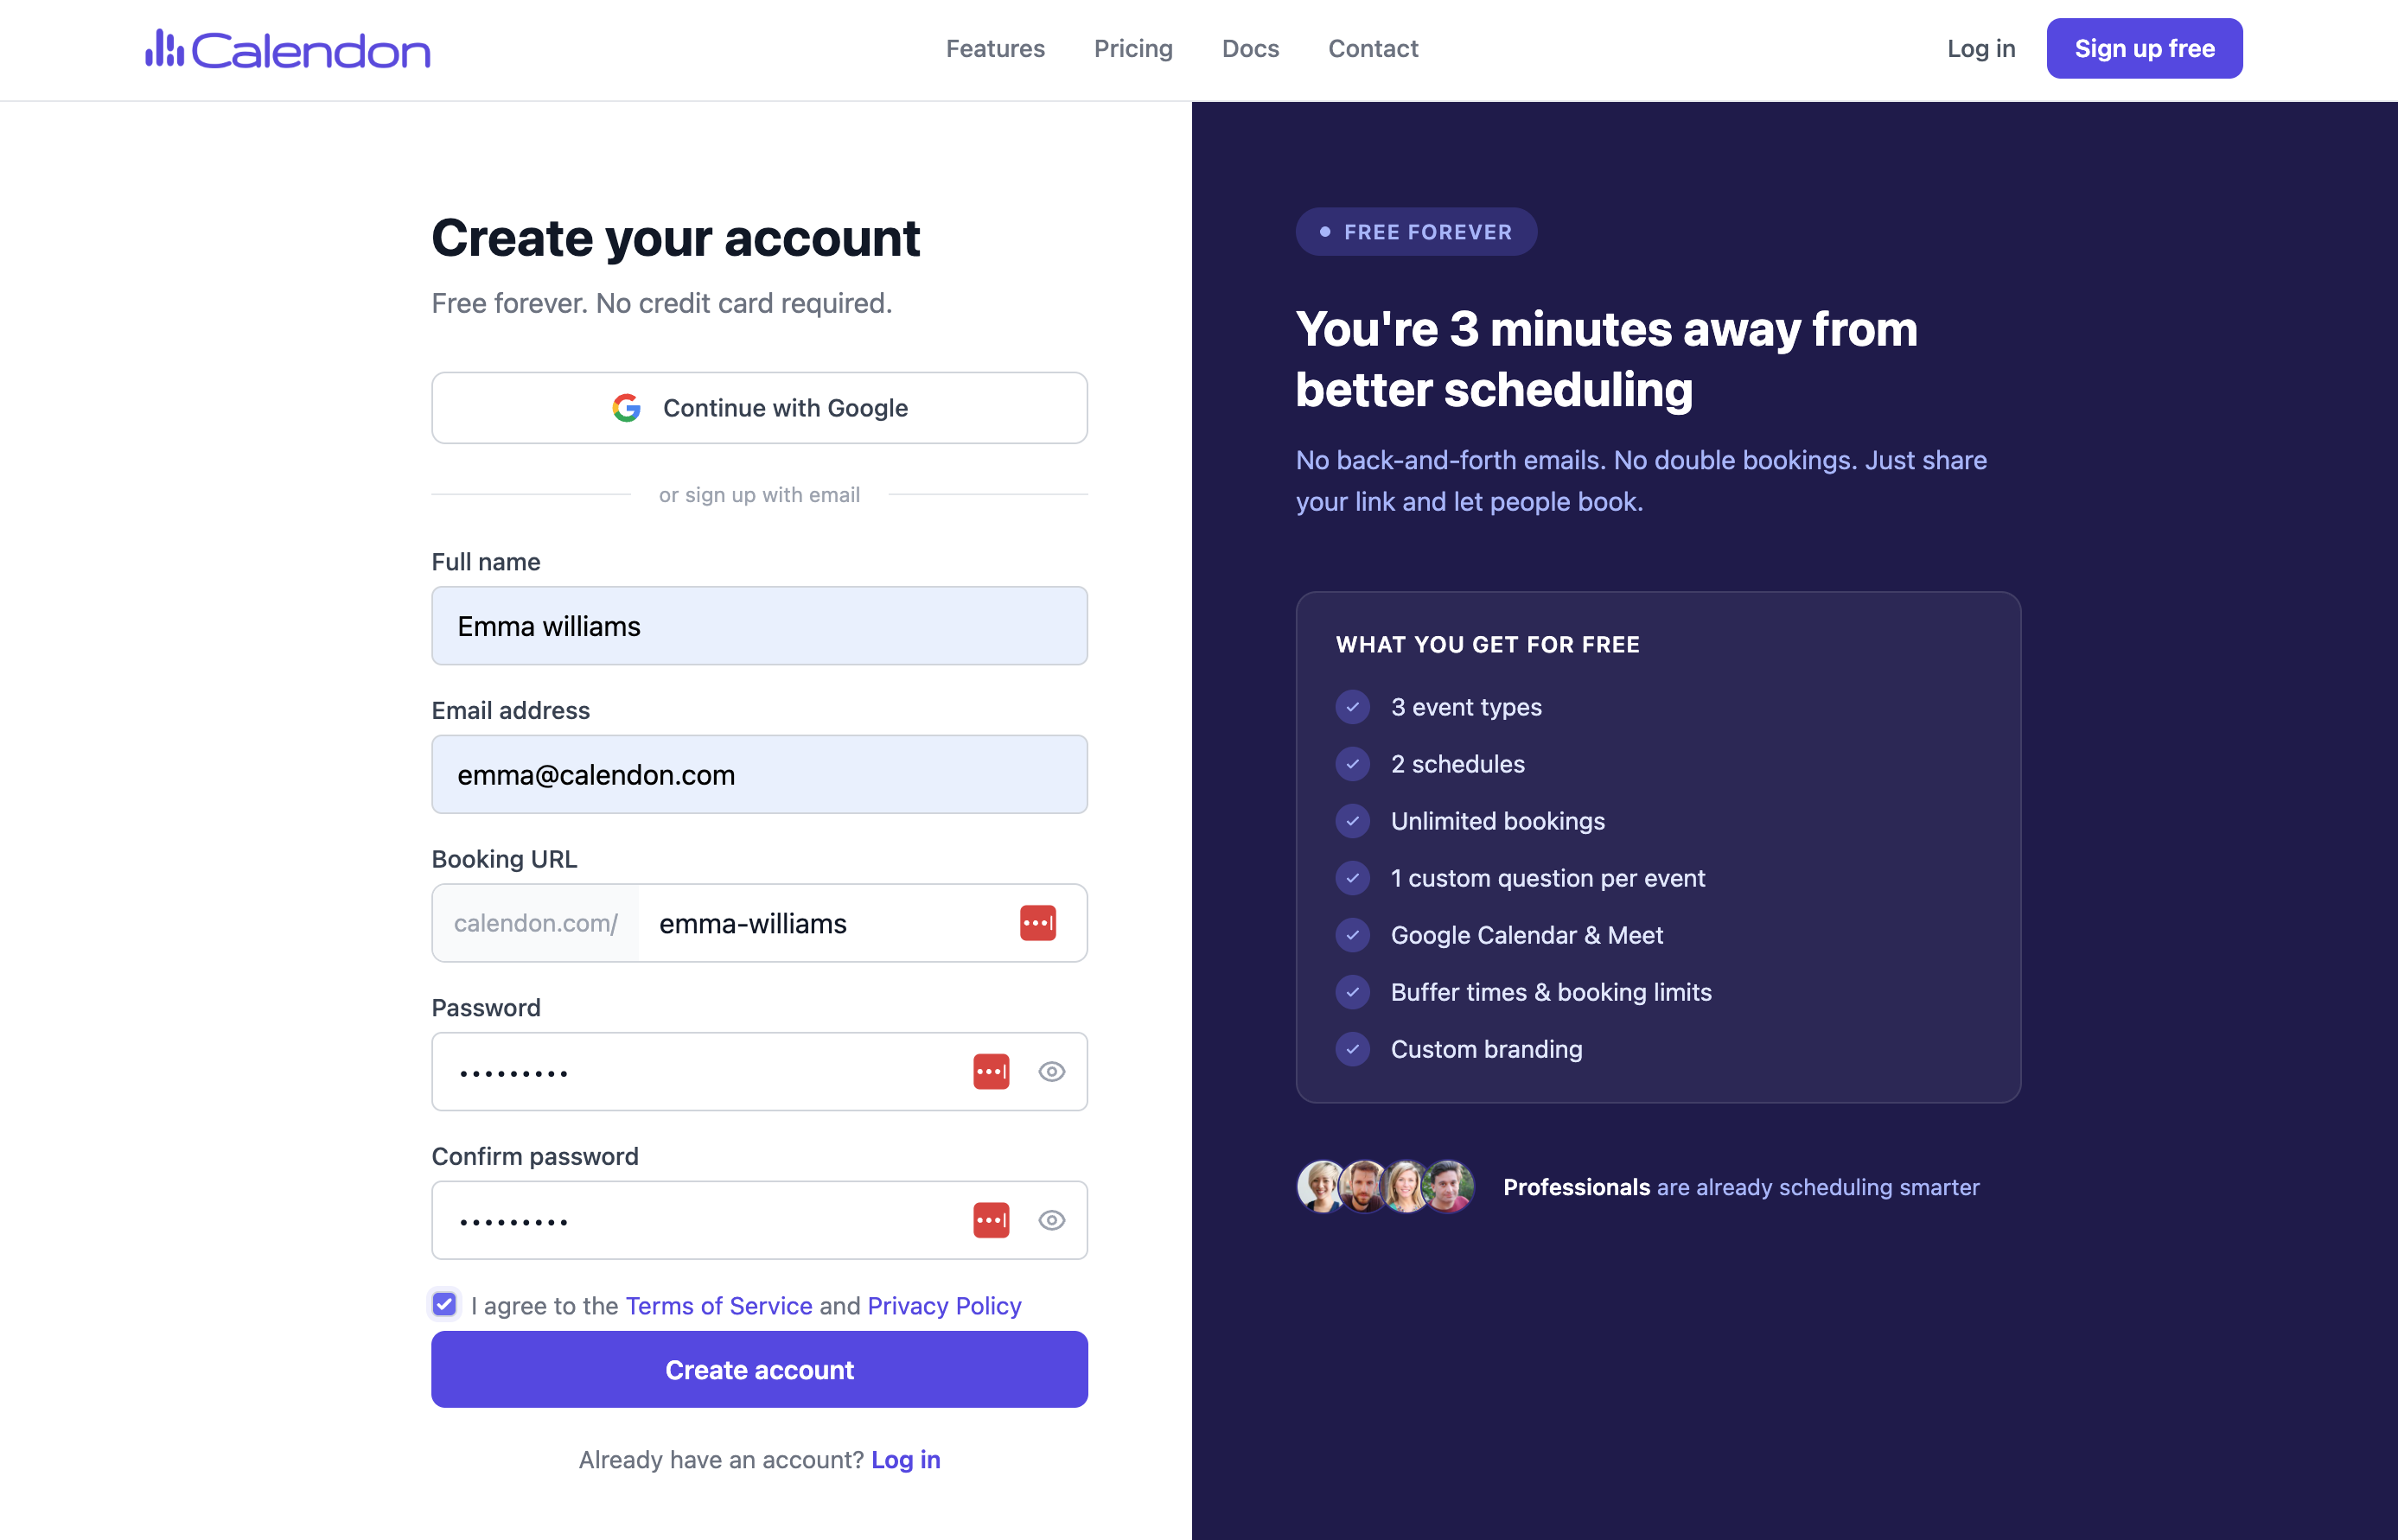
New to Calendon? Create your free account first — it takes two minutes and no credit card is needed.
What is an event type?
An event type is a bookable session you offer to clients. You set the name, duration, location, and availability, and Calendon generates a booking page clients use to schedule time with you. You can have multiple event types — one for a discovery call, another for a paid consultation, and so on.
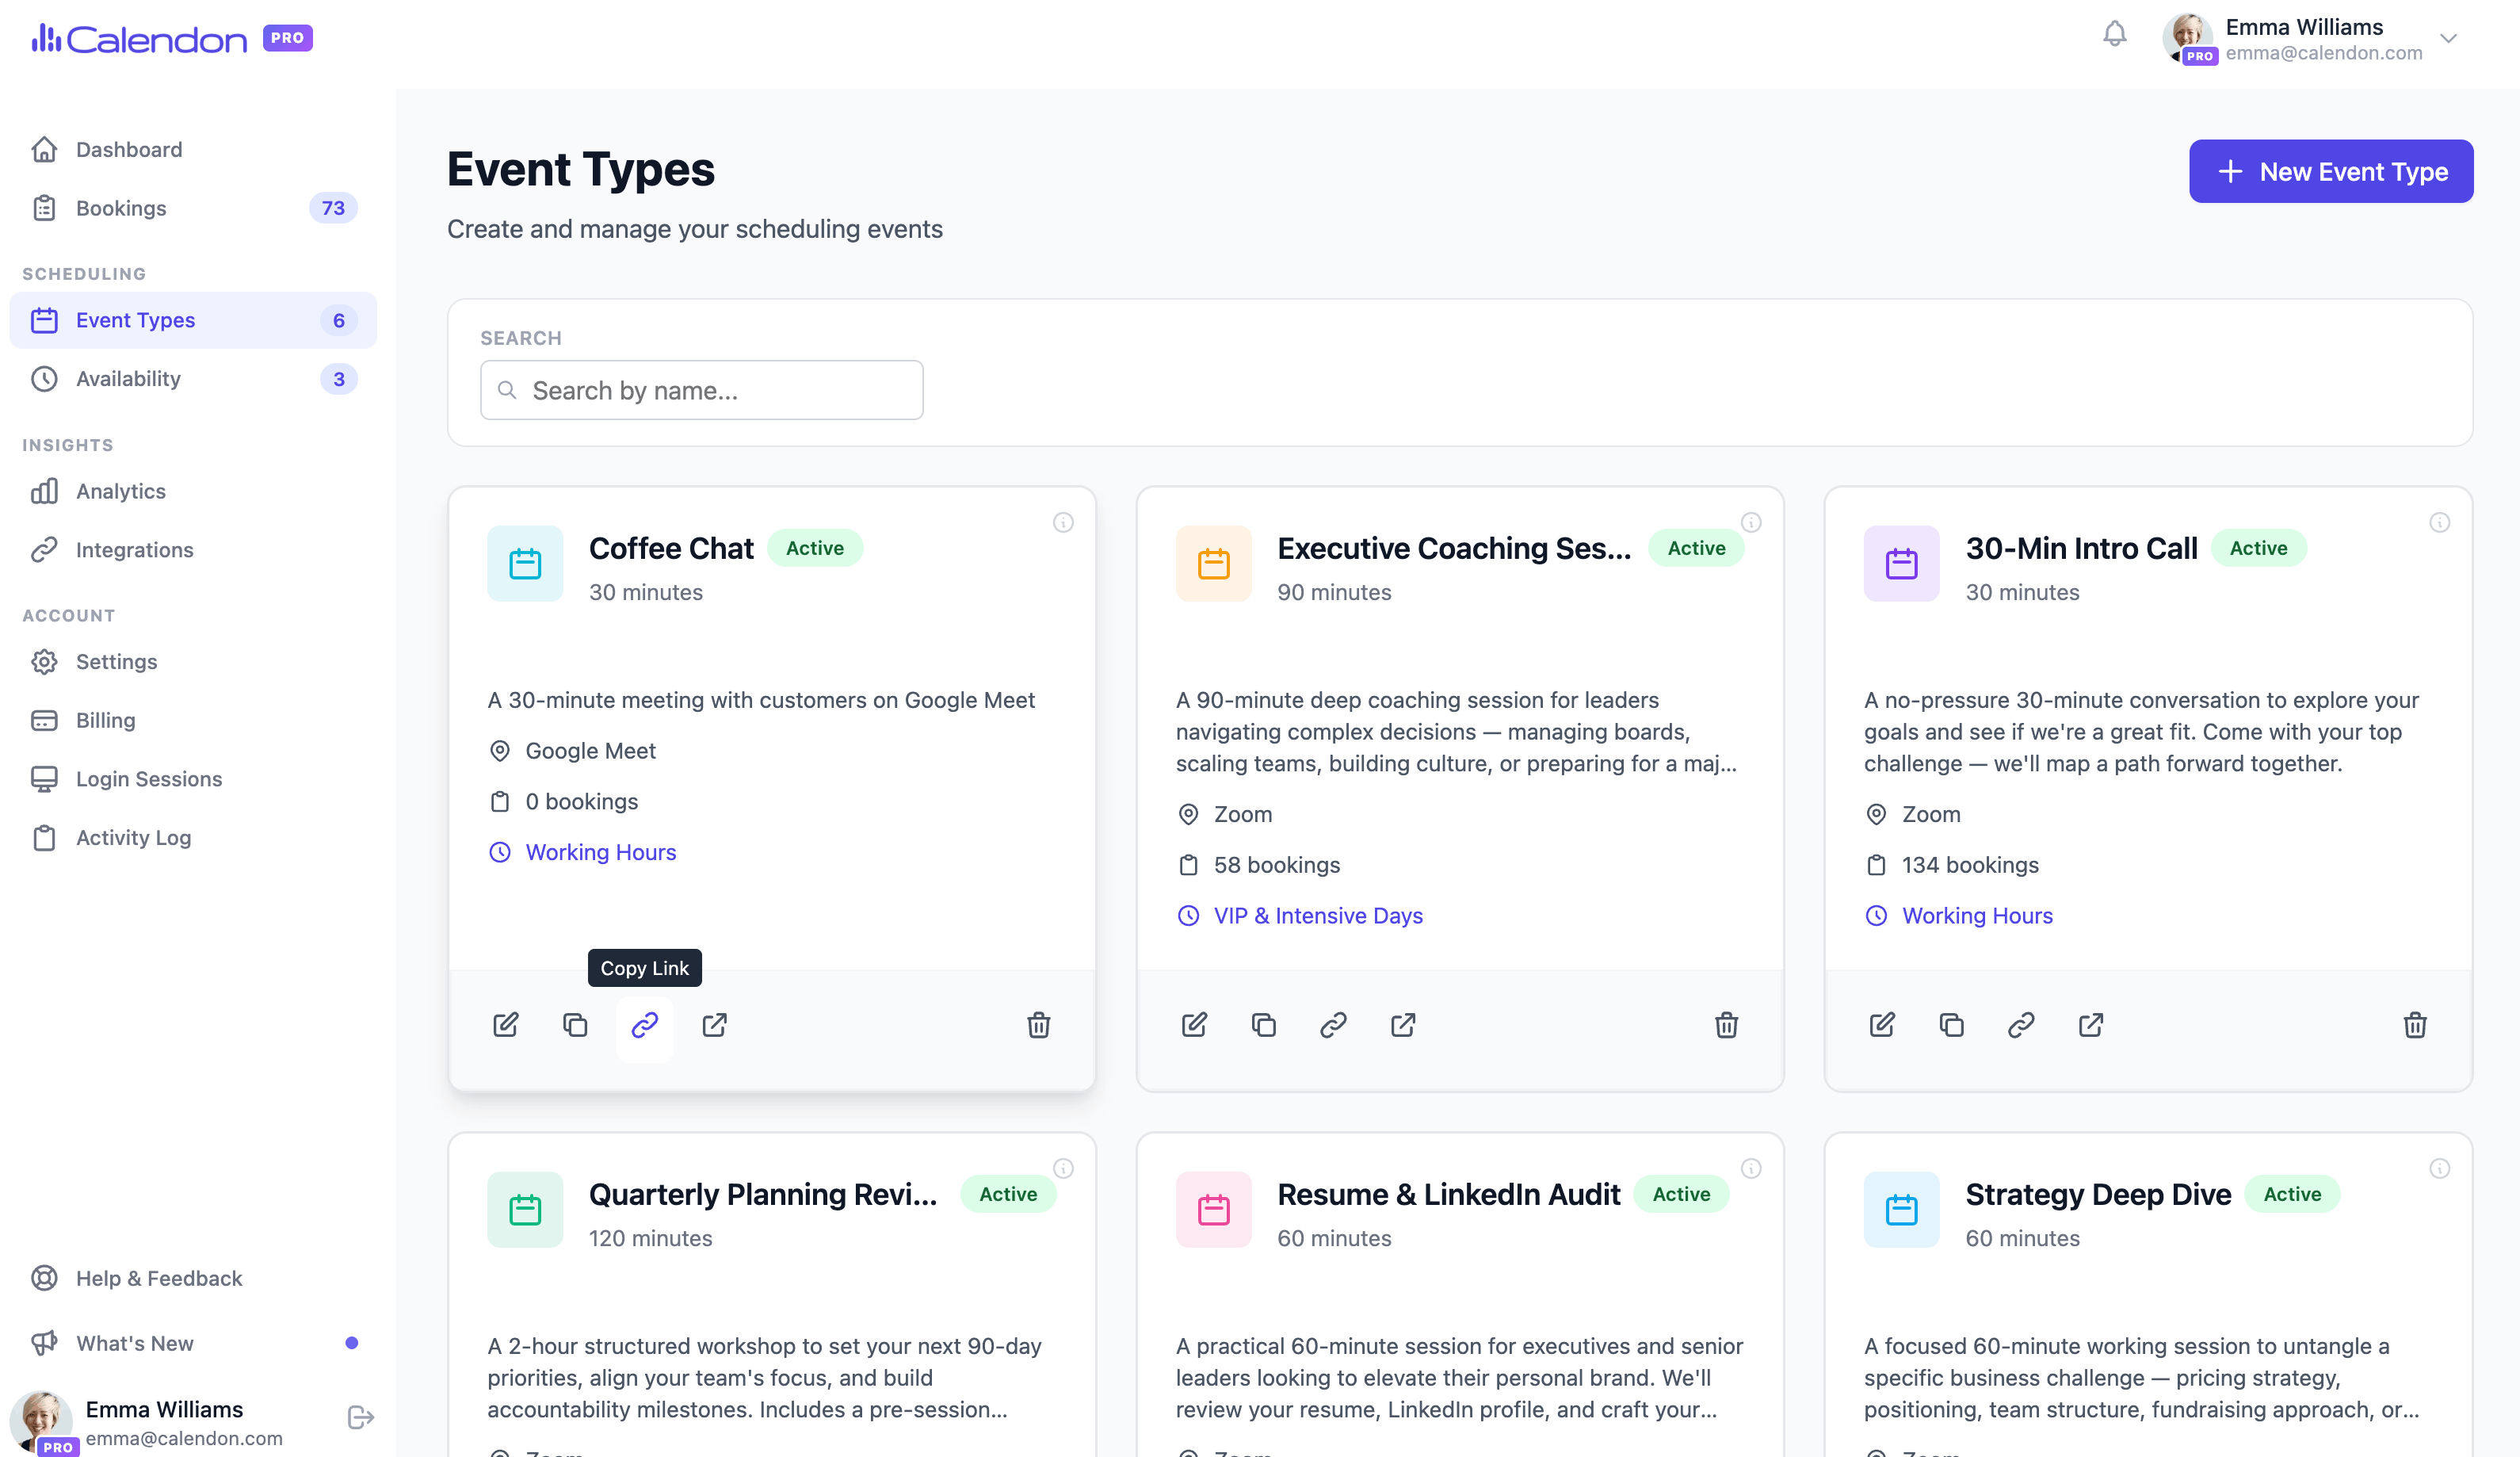
1. Open event types
Log in and click Event Types in the left sidebar.

2. Click "+ New Event Type"
Hit the + New Event Type button in the top-right corner.

3. Choose a quick start suggestion
Pick a pre-configured template that matches your session type, or start from scratch.
Quick start templates come pre-filled with sensible defaults for common session types and save you from configuring everything manually.

4. Choose a location
Select where the meeting takes place:
- Video call: Zoom, Google Meet
- Phone call: your number or the client's
- In-person: a physical address
5. Set your event link
Calendon generates a booking URL from your event name. Customise it to make it clean and easy to share:
https://calendon.com/yourname/discovery-call

6. Review your schedule
Your event type is linked to your default availability schedule. Clients can only book during your set hours and Calendon blocks out already-taken slots automatically.
Need different hours for this event? Link it to a separate availability schedule. Learn how to set your availability

7. Advanced settings (optional)
Click Advanced to configure booking rules, intake questions, confirmation rules, and payment. You can skip this now and come back anytime after saving.
- Booking rules: notice period, buffer time, booking window
- Questions: intake form to collect info before the call
- Confirmation: custom message or redirect URL after booking
- Payment: require Stripe payment before confirming the booking

8. Save and share
Click Save. Your booking link is live. Add it to your email signature, website, proposals, or social media bio and start accepting bookings.

Frequently asked questions
How many event types can I create in Calendon? You can create as many event types as you need. A common setup is one for a free discovery call and one for a paid session.
Can I use a different availability schedule for each event type? Yes. Each event type can be linked to its own schedule. Learn how to set up multiple availability schedules.
Can clients book without creating a Calendon account? Yes. Clients do not need a Calendon account. They just open your booking link and pick a time.
Can I require payment before a booking is confirmed? Yes. Connect Stripe in the Advanced settings of any event type and Calendon will collect payment before confirming the slot.
How do I edit an event type after saving? Go to Event Types in the sidebar, find the event, and click Edit. Changes apply to future bookings only — existing confirmed bookings are not affected.
Simplify your scheduling
Share one link. Let people book a time.